Page header image
Module 2, Lesson 5: Tables (Mac)
If you use a PC, click this link to go to the Word 2016 for Windows (PC) module.
What are tables?
Tables can be great ways to organize information so it is clearer and more easily digestible. The reader's eyes can scan across and down rows and columns quickly, instead of reading a paragraph. Simple tables (tables with one row of headings or one column of headings or both) are usually the easiest for screen reading software (like JAWS) to decipher.
Why are accessible tables necessary?
Assistive technology, such as screen readers (JAWS), read tables in a linear form. For example, the screen reader begins reading from the first row of the table and then progresses left to right across the columns. When the row ends, it continues to the start of the second row, and so forth.
Also, screen readers always assume that the first row and column of a table contain heading information. Use Styles to designate which row(s) and column(s) are your headers. For help with using Styles, visit Module 2, Lesson 2: Styles.
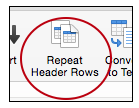
If the table continues on to another page, make sure to turn on the "Repeat Header Rows" function. See below for instructions on how to do this.
How do I create accessible tables?
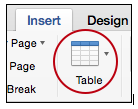
- Click the Insert tab located at the top of the screen. Then click the "Table" button.
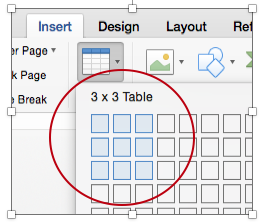
- Move the mouse over the desired number of rows and columns and click.
- Once the table appears on the screen, select the top row with your mouse. This will
be your header row.
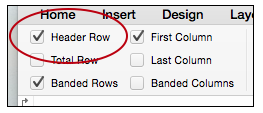
- Click the Table Design tab.
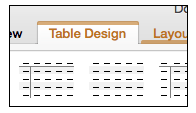
- At the top left-hand side of the screen, check to make sure the "Header Row" button
is checked.
- Now click on the Layout tab, which is located next to the Table Design tab. (Note: You must have the table selected in order to see the Layout and Table Design
tabs. Click on the table to select it.)
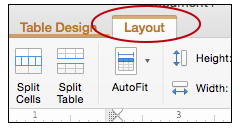
- On the top right-hand side, click the Repeat Header Rows button.